Movie Clips
Step 1
Create a new flash document
Select the oval tool and draw a small circle that will act as a tyre.
Step 2
Make sure black is selected as the stroke and have no fill and adjust the stroke size to about five.
Step 3
Select the entire shape and then press F8 to convert it to a symbol, name it tyre and select graphic then press ok.
Step 4
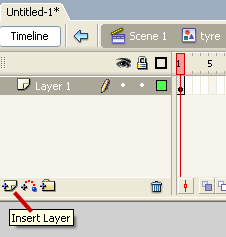
Double click the tyre on the stage to open its timeline. Lock layer 1 by clicking the layer underneath the padlock icon. Then create a new layer, this will be used for the alloys. Using the line and oval tool draw some alloys in the middle of the circle.

Return to the main time line.
Step 5
Next press Ctrl+F8 to insert a new symbol, name it wheel and select the movie clip option.
Notice how this will open the movie clips own timeline. Drag a copy of the tyre graphic to the stage placing it on the cross.
Step 6
Right click on frame 5 and insert and select insert Keyframe, repeat the process for frames 10, 15, 20.
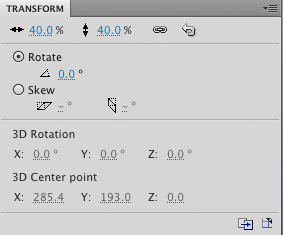
Now select frame 5 by clicking on it and then select the free transform tool and rotate the tyre 45 degrees clockwise. Alternatively you could use the transform panel. Change the movie clips on frames 10, 15 and 20 using the same process but adding an extra 45 to each one e.g. frame 10 will be 90.

Step 7
Then open the properties panel and select frame 1, in the properties panel select the motion tween option (note that the timeline should turn blue with a solid black line between frames 1 and 5). Repeat this for the other keyframes and then your tyre is now complete.
Step 8
Return to the main stage (click on scene 1 above the timeline).
Now create another new movie clip called car (Ctrl+F8). Use the pen tools or brushes to draw the body of a car.
Step 9
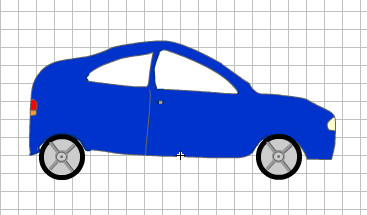
Once the car is drawn create a new layer and then drag two of the tyre placing them on the car as below.

Return to the main time line and delete anything that is on there. Select the stage and change the frame rate to 24 in the properties panel.
Step 10
Now drag a copy of the car movie clip to the stage and select control / test movie to view the animation.
The advantage of having a movie clip is that you can place more than one copy on the stage saving you having to re create the animations again. In this instance we used the same tyre animation twice within the car, so you can create nested movie clips (movie clips inside movie clips).
Download the completed flash file.

