Motion Editor
Part 1
Create a new flash as3 document and create a animation of a ball moving from left to right across the stage over 50 frames. As per the motion tween tutorial.
Select the tweened ball ensuring the first keyframe of the motion tween for the ball is selected.
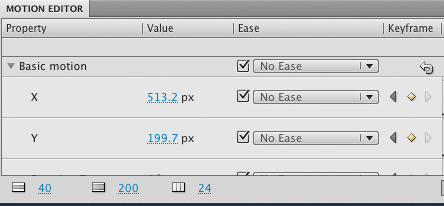
Click the tab for the Motion Editor. The Motion Editor tab is located next to the Timeline tab directly underneath the Stage unless you have moved it to the top. At the top of the Motion Editor, you will see the X and Y properties of the animation.

To modify the property values, use the blue underlined hot text for the property in question, for example you can change the y to 250 and this would be its new start position.
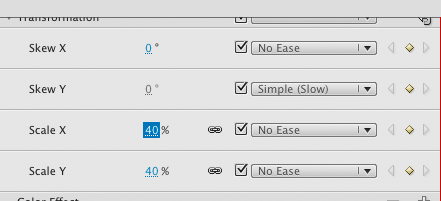
To scale the image scroll down to Scale X and Scale Y in the Motion Editor. Ensure that they are linked together and adjust the scale to 40%.

Control / test movie to see the animation work. The ball will scale from small to large.
Now move the playhead to frame 15.
Next select the add/remove keyframe icon, this is the yellow diamond in the above image on the right hand side (it will be grey in Flash). This will insert a keyframe a frame 15, now increase the scale to 200%. The motion editor will look like below.

Control / Test Movie to view the animation.
Part 2
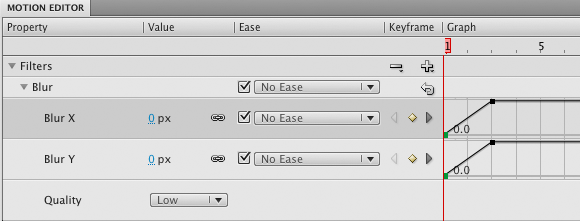
using the motion editor, see it you can create another animation going from left to right over 50 frames and this time add a blur effect (This is found under filters). So on the first frame it should be sharp and then blurred from frame 3 to 48 and then sharp again at frame 50.


