
Getting Started
When you first launch flash you will see this interface.
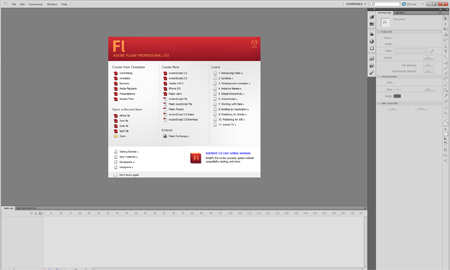
Select from the create new list in the middle of the page actionscript 3 file.
Step 1
Select windows and library, this will add the library panel to the panels on the right hand side of your screen (if not already visible). The library is where you will find all the symbols and media that you create and use within your flash movie.
There is a tools panel to the left or right depending on layout of stage (this is the white area in the middle of the screen)
Step 2
The tools panel consists of drawing, painting and selections tools. Select the Line tool and draw a line on the stage. Select the selection tool, click on the line to select it and then open the properties panel at the bottom of the stage. Change the stroke size to 6 and then change the stroke type.
You can change the stroke size of the oval and rectangle shapes you create using those tools.
Step 3
Select the oval tool and draw a circle on the stage. Then select the brush too and experiment with the different settings. Below is an example of the different settings.
You can also adjust the size and shape of the brush from within the options.
Step 4
The free transform tool is useful for adjusting images and creating images. You can simply drag the main points to scale or change the options in the tools panel to skew and rotate. See below for example.
Step 5
Experiment with the paint bucket tool, apply some gradient and use the fill transform.
Changing Stage Properties
You can change the stage size, colour and frame rate by simply clicking on the stage with the arrow tool selected and then opening the properties panel to change the settings.
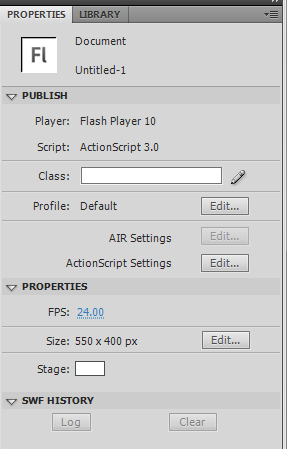
By default the size is 550 x 400 you may wish to change this depending on the nature of your project.